
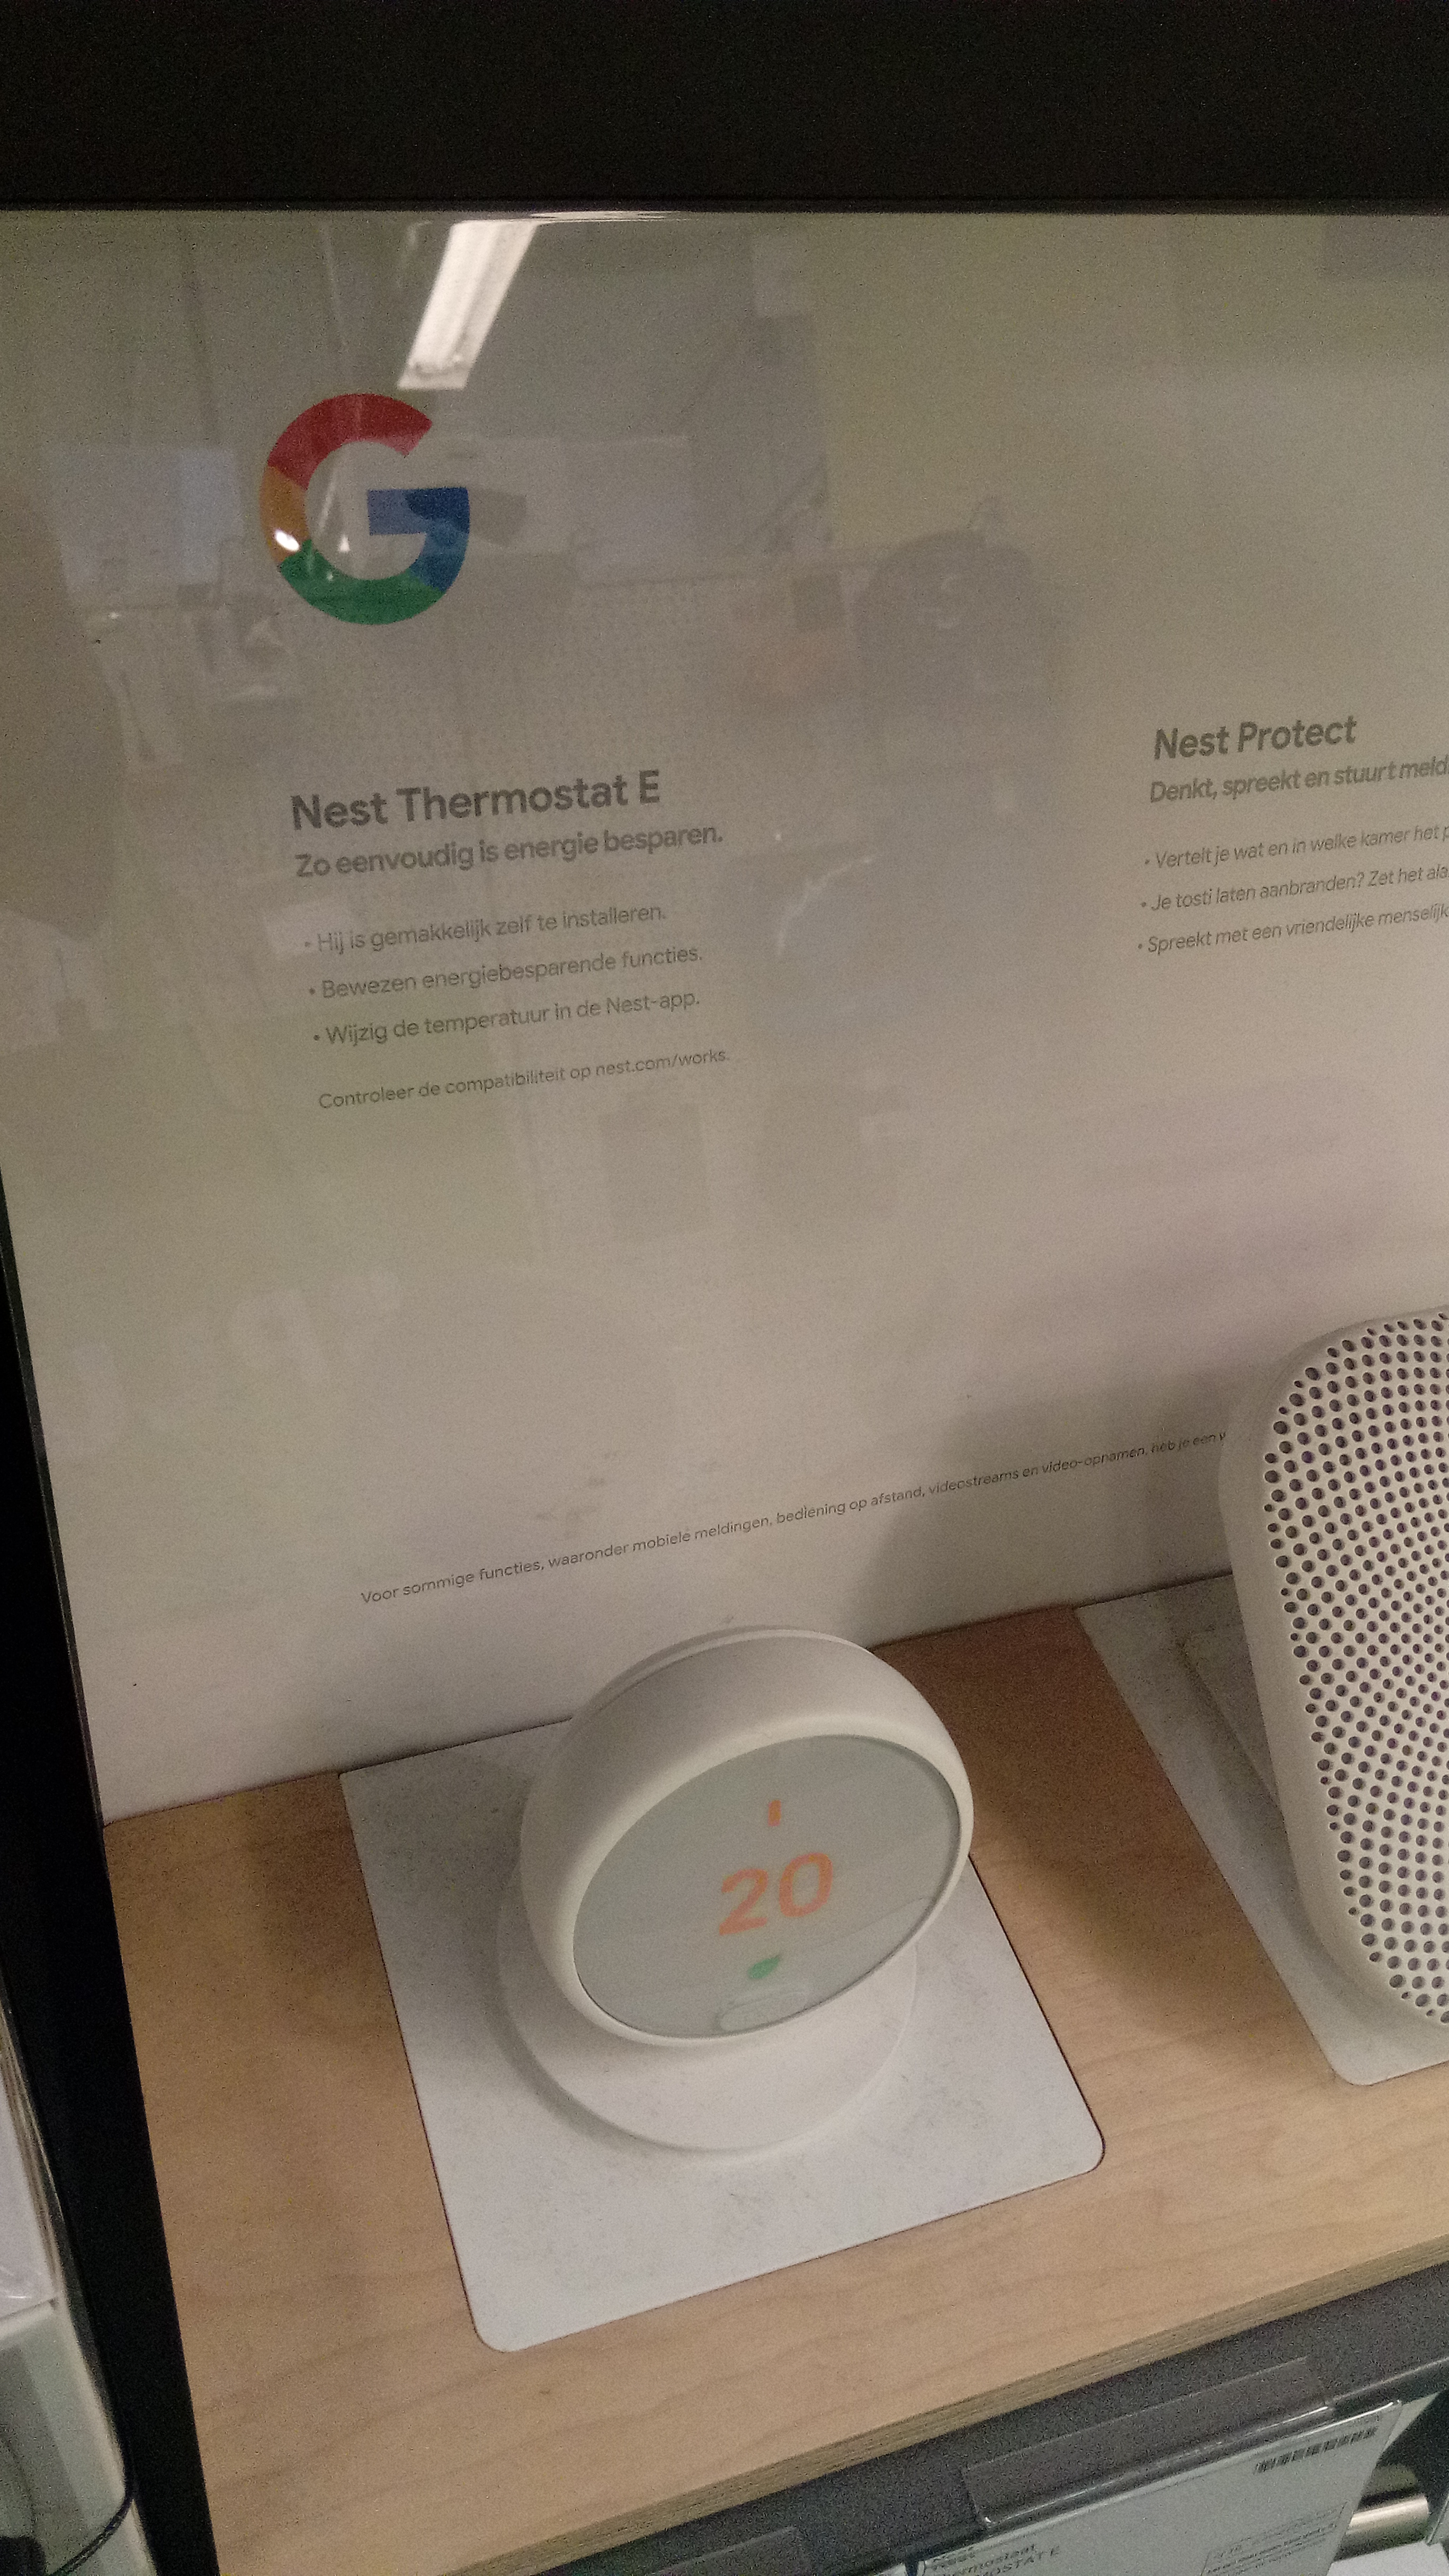
Setting Up a Smart Thermostat
Wiring checks, C-wire considerations and scheduling for heating-dominated climates.
Read guideReference notes on configuring smart thermostats, plugs, bulbs and hubs, and keeping household energy use in check across cold-climate conditions.
Each guide covers one task end to end, with notes on what tends to differ in Canadian households such as winter heating loads and provincial electricity rates.
Wiring checks, C-wire considerations and scheduling for heating-dominated climates.
Read guide
2.4 GHz vs 5 GHz, Wi-Fi, Zigbee and Matter, and naming conventions that stay manageable.
Read guide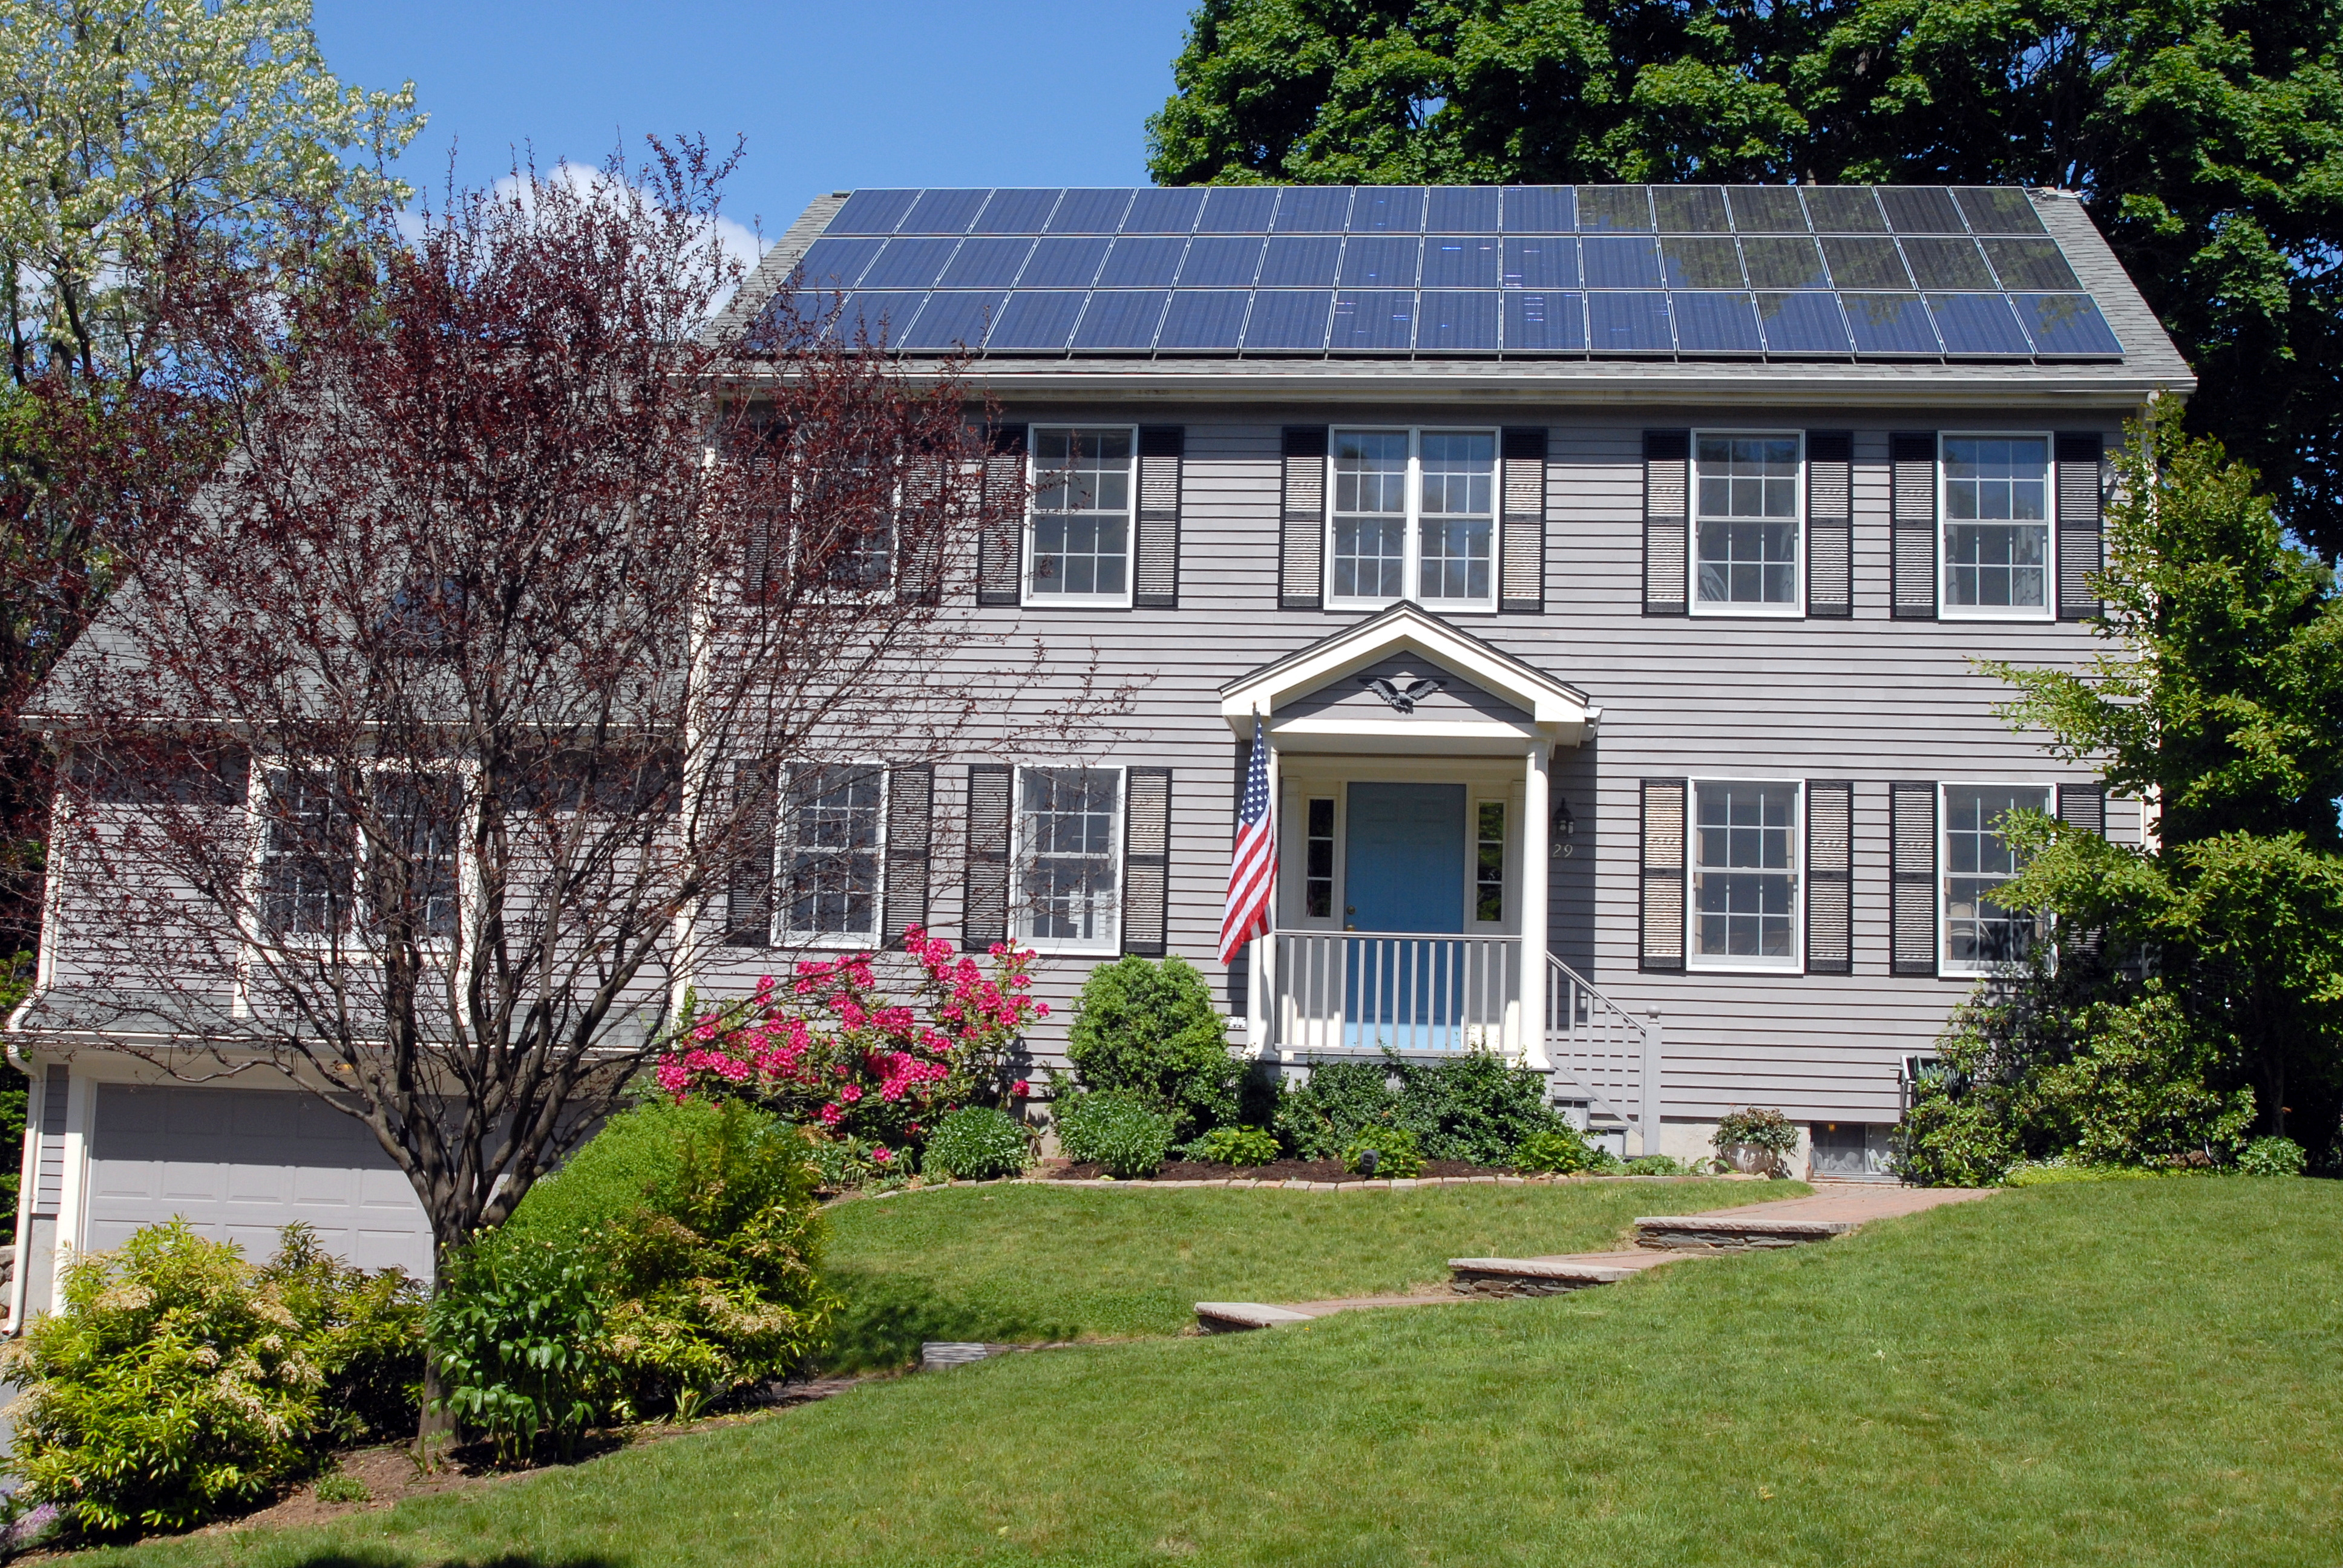
Reading smart-meter data, scheduling around time-of-use rates and tracking standby loads.
Read guideA device rarely works in isolation. The stages below describe how a single thermostat install tends to unfold once the box is open.
Confirm the device is rated for your heating type, photograph existing wiring, and check whether a common wire is present. For 240 V baseboard heating, a line-voltage model is required rather than a low-voltage smart thermostat.
Join the device to a 2.4 GHz network, complete firmware updates, and test a heating cycle before relying on a schedule. Label the device clearly so it is easy to identify later in the app.
Electricity is billed and regulated provincially, so time-of-use windows and rates differ between provinces. Check your local utility for the exact schedule that applies to your account.
Use the form below to send a note about the guides. Submissions are simulated in the browser and are not transmitted anywhere.